Must-Have Nail Art Tools for Beginners and Pros
Published July 17, 2026
Beautiful nail art isn’t just about creativity; it depends on the right tools. Quality tools make every step easier. Use them to paint crisp lines, create perfect dots, and add intricate details. They help you achieve cleaner, longer-lasting results, reduce product waste, improve precision, and make every manicure easier to complete.
Are you building your first DIY nail kit or expanding a professional setup? Choosing the right tools from the start makes learning new techniques easier and delivers more polished results. Here’s a closer look at the essential nail art tools every nail artist should own, from beginner basics to salon favorites.
Essential Nail Art Tools Every Nail Artist Should Own
The right tools can simplify even the most detailed nail art techniques. Each tool serves a specific purpose. They help with everything from delicate line work to securing embellishments. Using them improves your accuracy, consistency, and overall finish.
Nail Art Stickers
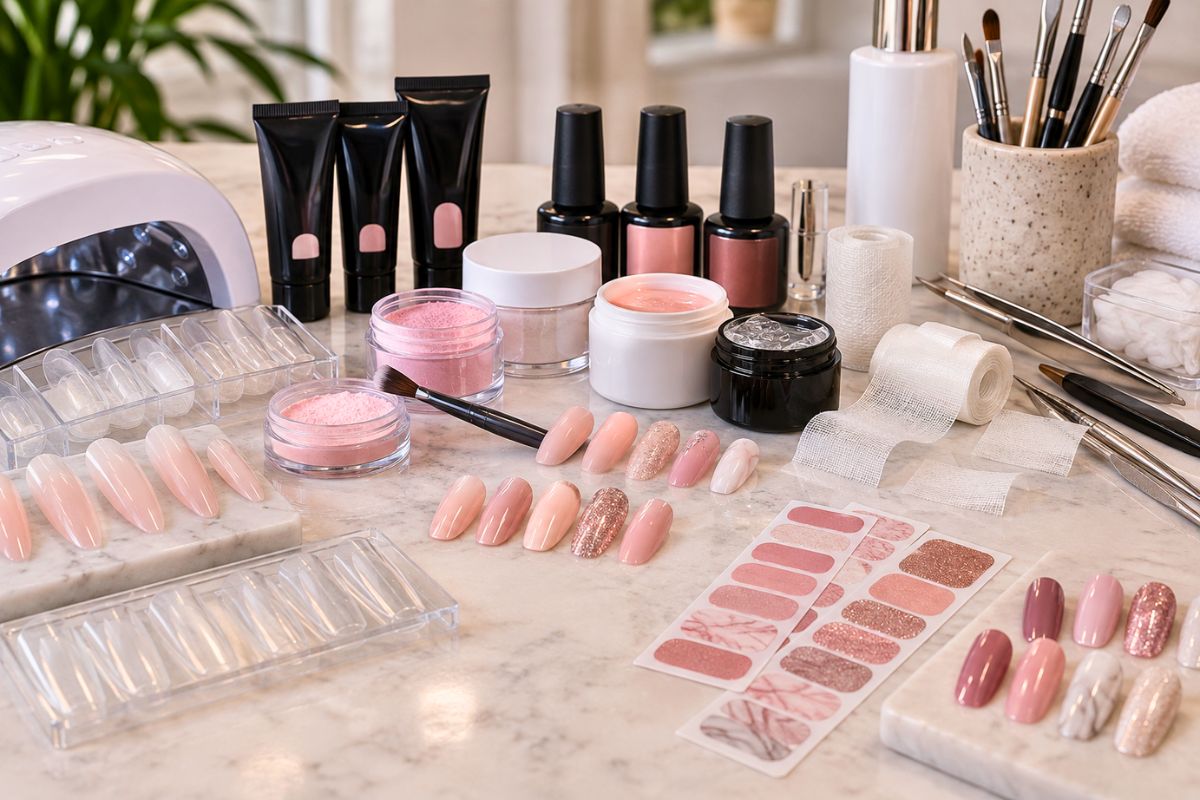
Nail art stickers let you achieve intricate designs without mastering freehand painting. They come in countless styles, including florals, metallic accents, and abstract patterns. To apply them, place them over a tacky layer. Then, seal with a top coat for a smooth, long-lasting finish.
Dotting Tools
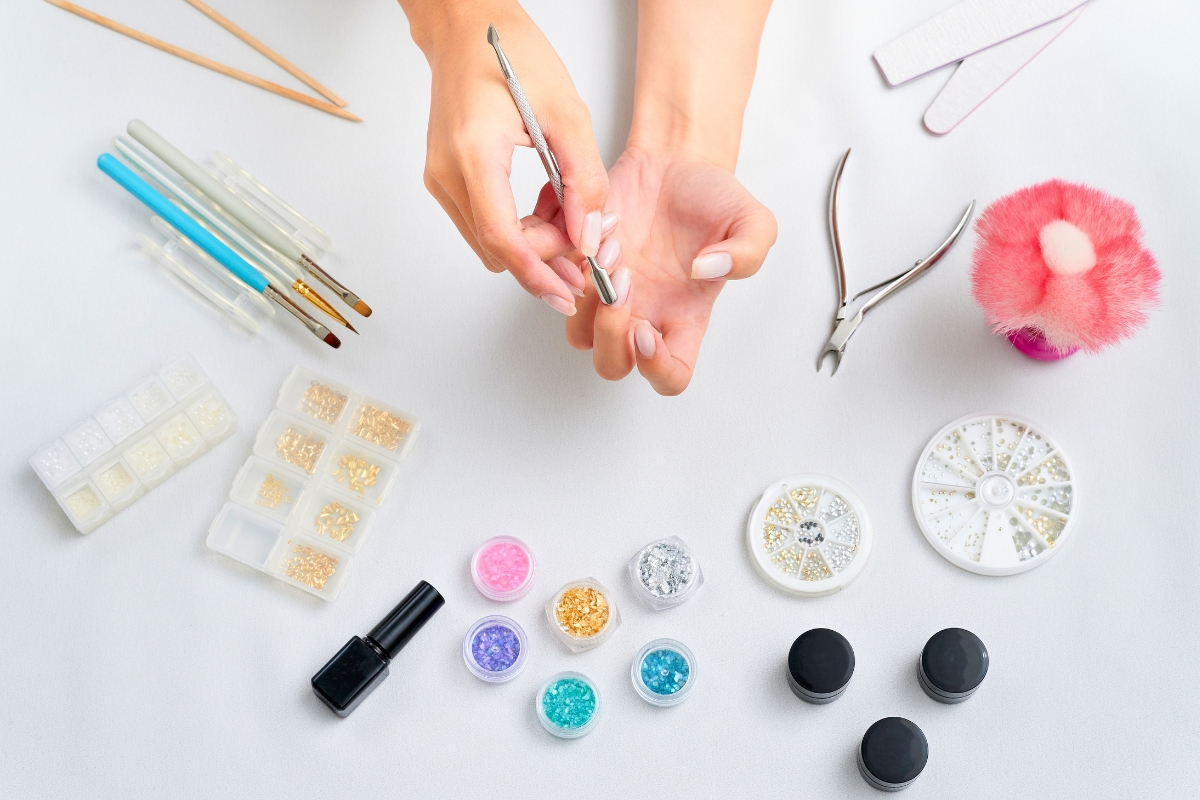
Dotting tools are double-ended styluses with rounded metal tips. They help you easily create perfectly sized dots, flowers, swirls, and abstract patterns. Most sets include several tip sizes, making them one of the most versatile additions to any nail art kit. They’re also ideal for beginners because they help produce consistent designs with minimal practice.
Rhinestones
Rhinestones add sparkle, dimension, and a touch of luxury to any manicure. They can be placed into wet gel polish or secured with nail glue, then sealed with a thick top coat or builder gel, depending on your manicure type. This helps prevent lifting and extends the wear of your design.
Striping Tape
Striping tape consists of ultra-thin adhesive strips used to create crisp geometric designs, color blocking, and negative-space nail art. It provides clean, professional-looking lines that are difficult to achieve freehand.
Bullion, Sprinkle, and Caviar Beads
Decorative beads add texture, depth, and visual interest to nail designs.
- Bullion beads create elegant metallic accents and detailed embellishments.
- Sprinkle beads add a playful texture and colorful dimension.
- Caviar beads cover the entire nail to create a bold, three-dimensional finish.
Loose Glitter
Loose glitter delivers more sparkle and coverage than traditional glitter polish. It’s commonly used to create ombré effects, glitter gradients, accent nails, and layered designs with added depth and shine.
Specialty Nail Polishes
Certain nail art techniques work best with formulas specifically developed for the job.
- Stamping polish: A thicker, highly pigmented formula designed to transfer cleanly from stamping plates.
- Striping polish: Features a thin consistency for creating fine lines and detailed artwork.
- Dotting polish: Helps dots maintain their shape without spreading.
- Crackle polish: Dries into a cracked finish that reveals the color underneath.
- Magnetic polish: Creates dimensional effects when paired with a magnetic wand.
- Glow-in-the-dark polish: Absorbs light and glows in low-light conditions.
- Color-changing polish: Changes color in response to temperature or UV exposure.
- Matte top coat: Transforms glossy finishes into a smooth matte surface and creates a striking contrast when paired with glossy accents.
Nail Stamping Kit
A nail stamping kit lets you recreate intricate designs in seconds with consistent results. A complete kit typically includes:
- Stamping plates
- Silicone stamper
- Special stamping polish
It’s an excellent option for creating detailed patterns that would be difficult to paint by hand.
Base Coat and Top Coat
No manicure is complete without a quality base coat and top coat.
- A base coat smooths the nail surface, helps prevent staining, and improves polish adhesion for longer wear.
- A top coat seals your design and adds durability. It provides a glossy or matte finish. It also protects your nail art and embellishments from everyday wear.
Orangewood Stick or Toothpick
Despite its simplicity, an orangewood stick is one of the most versatile tools in any nail kit. It can push back cuticles, clean excess polish around the nail, create tiny dots, and position rhinestones or other decorations before curing. A toothpick serves many of the same purposes in DIY nail art.
Nail Grooming Kit
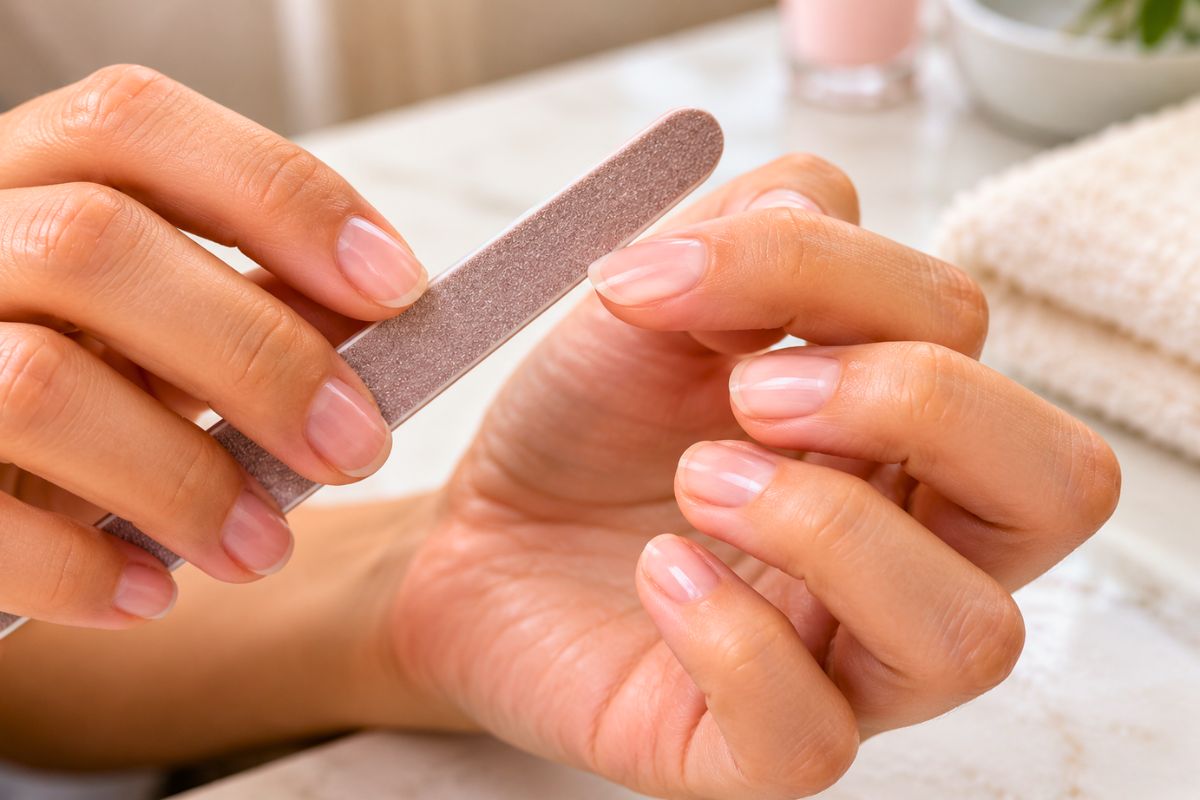
Even the most intricate nail art starts with proper nail preparation. A complete grooming kit should include nail clippers, cuticle nippers, scissors, buffers, and nail files to shape nails, tidy cuticles, and smooth the surface before applying polish.
Nail Polish Remover and Lint-Free Cotton Swabs
Nail polish remover isn’t just for taking off old polish. It’s also essential for correcting small mistakes while you work. Pair it with lint-free cotton swabs to clean around the cuticle and sidewalls without leaving behind fibers that can stick to fresh polish.
Acrylic Colors
Acrylic colors are a favorite for detailed freehand nail art. They offer excellent opacity and blendability. This makes them ideal for painting flowers, character art, and portraits. They’re also great for other intricate designs. Once complete, seal your work with a protective top coat.
Nail Art Brushes
Different brush shapes are designed for specific techniques. They provide the precision you need to create everything from delicate lines to detailed, hand-painted art.
- Detailing brush: Fine details and miniature artwork.
- Striper brush: Long, continuous lines.
- Liner brush: Outlining and intricate detailing.
- Flat brush: Filling larger areas with color.
- Angular flat brush: Sharp edges, gradients, and angled designs.
- Fan brush: Applying glitter and creating soft blended effects.
- Round brush: Petals, swirls, and curved designs.
- 3D brush: Sculpting acrylic flowers and raised nail art.
- Oval brush: Smooth shading and color blending.
- Gel brush: Applying gel polish evenly without streaks.
Nail Polish Correcting Pen
Even experienced nail artists make the occasional mistake. A nail polish correcting pen features a precision tip filled with remover, making it easy to clean up polish around the cuticles and sidewalls without disturbing the rest of your manicure. It’s a simple addition to any nail kit, but it can make the finished manicure look much more polished.
Manicure Tweezers
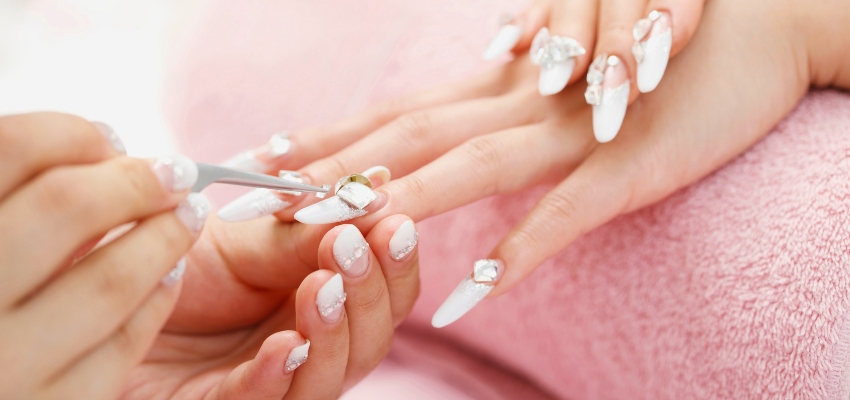
Manicure tweezers give you better control when placing small embellishments such as rhinestones, nail foil, dried flowers, decals, and charms. Their fine tips allow for accurate placement, especially when working with detailed designs that require accuracy.
Nail Art Tools for Beginners
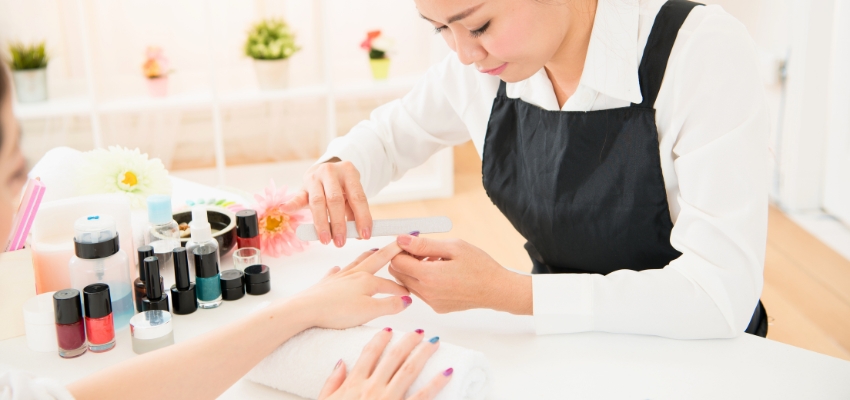
Getting started with nail art doesn’t require a professional-sized toolkit. For beginners, a handful of versatile essentials is enough to learn core techniques, build confidence, and create a wide variety of designs. As your skills improve, you can level up your collection based on the styles you enjoy most.
Start With the Essentials
A beginner-friendly nail art kit should include:
- Dotting tools
- Nail art brushes (a detailing brush and a striper brush are excellent first choices)
- Striping tape
- Base coat and top coat
- Nail art stickers
With these basics, you can create popular designs like polka dots, flowers, stripes, and geometric patterns while building your fundamental skills.
Build Your Nail Art Kit Gradually
There’s no need to invest in every specialty tool at once. As you gain experience, gradually add tools that match the techniques you enjoy most. Consider rhinestones, stamping kits, loose glitter, acrylic colors, or decorative beads. Building your collection over time helps you prioritize quality over quantity. It also means you can invest in tools that truly suit your nail art style.
Master the Basics Before Upgrading
Before purchasing advanced equipment such as an electric nail drill (e-file) or a UV/LED lamp, focus on mastering the fundamentals. Good brush control, consistent dotting, clean striping, and accurate stamping are all worth mastering early on. These foundational skills make advanced techniques much easier to learn. They’ll also help you get the most out of professional-grade tools when you’re ready to upgrade.
Professional Tools for Nail Art
As your experience grows, professional tools can improve both efficiency and the quality of your work. After covering beginner essentials, let’s look at the tools that support more advanced work. Though some require more investment and training, they simplify intricate designs and streamline salon services.
Electric Nail Drill (E-File)
An electric nail drill, or e-file, shapes nails, refines enhancements, and removes gel or acrylic faster than manual filing. To prevent damaging the natural nail, it should only be used after proper training on correct speeds, bits, and techniques.
UV or LED Nail Lamp
A UV or LED nail lamp is essential for curing gel polish and gel-based nail art. Both types emit ultraviolet light that activates the photoinitiators within gel products, causing them to harden. LED lamps generally cure compatible gel products more quickly because they emit a narrower wavelength. However, not every gel formula is LED-compatible, which is why many nail professionals prefer combination UV/LED lamps for greater flexibility.
Silicone Nail Art Tools
Silicone nail art tools are designed for sculpting, blending, and smoothing gel or acrylic products. Gel and acrylic products don’t adhere to silicone as readily as they do to metal. This makes silicone tools ideal for creating textured finishes and three-dimensional nail art. They also offer greater control when sculpting intricate designs.
Chrome Powder Applicators
Chrome powder applicators are essential for achieving a flawless mirror finish. They buff chrome pigments evenly onto a cured gel top coat. This creates the smooth, reflective look that’s so popular in modern nail designs.
Nail Practice Hand
A nail practice hand provides a realistic surface for training. It is perfect for both beginners and experienced nail technicians. You can practice extensions, sculpting, and detailed nail art without a live client. This tool is invaluable for refining your techniques. It also helps you test new products and build confidence before offering new services.
Professional Mixing Palette
A professional mixing palette offers a clean, reusable surface for blending colors. Use it to create custom gel or polish shades during appointments. It helps keep your products organized and within reach. It also minimizes product waste and makes cleanup between clients much easier.
Precision Detailing Brushes
Professional detailing brushes use premium synthetic or Kolinsky-style bristles. These high-quality fibers keep a fine point even with frequent use. They are durable and highly precise. This makes them perfect for fine lines, detailed illustrations, and advanced nail art that demands steady control.
Tips for Choosing Quality Nail Art Tools
High-quality nail art tools make a real difference. They improve the application process and the finished result. Whether you’re building your first kit or replacing old favorites, reliable tools are worth the investment. They help improve precision, durability, and consistency.
Choose Durable Materials
Look for tools made from materials that withstand regular use. Stainless steel dotting tools resist rust and corrosion. High-quality silicone stampers transfer designs more consistently. Sturdy brush handles are also less likely to loosen or crack over time. Well-made tools perform better and last longer.
Invest in Quality Brushes
A good set of nail art brushes is one of the smartest investments you can make. High-quality brushes hold a fine point, retain their shape, and provide better control for intricate designs. Cheaper brushes tend to fray, shed bristles, or lose their shape, making detailed work more difficult and less consistent.
Choose Between Complete Kits and Individual Tools
The right choice depends on your experience level and how you plan to use your tools.
- Beginners often benefit from complete starter kits. These kits include essential tools at a budget-friendly price.
- Experienced nail artists may prefer buying individual tools. This allows them to choose specific brush sizes and specialty tools. They can also select tools that match their preferred techniques.
Starting with a kit is a practical choice. It lets you explore different techniques without a big investment. Once you know what you like, you can upgrade to higher-end individual tools.
Clean and Store Your Tools Properly
Regular maintenance extends the life of your nail art tools while keeping them clean and ready to use. Wash brushes with the appropriate cleanser immediately after each use to prevent polish or gel from hardening in the bristles. Store brushes, dotting tools, and other accessories in a protective case or organizer to keep them free from dust and prevent damage.
Replace Worn-Out Tools When Needed
Even the highest-quality tools won’t last forever. Over time, brushes fray, silicone stampers wear out, and dotting tools lose their precision. Damaged stamping plates and underperforming equipment should also be swapped out. Don’t hesitate to replace any tool that no longer delivers the results you need. Working with well-maintained tools helps you achieve cleaner, more consistent results every time.
Frequently Asked Questions
What are the best nail art tools for beginners?
If you’re just getting started, focus on a few versatile essentials instead of buying every tool available. A beginner-friendly kit should include dotting tools, a detailing brush, a striper brush, striping tape, a base coat, a top coat, and nail art stickers. These basics allow you to practice a wide range of techniques before investing in more advanced equipment.
Can I use regular paint brushes for nail art?
Regular paint brushes aren’t designed for the level of precision nail art requires. Their bristles are generally thicker and less flexible, making detailed work more difficult. Nail art brushes have finer bristles that provide greater control for creating thin lines, intricate patterns, and delicate details.
Do I need a UV or LED lamp for nail art?
Only if you’re using gel polish or gel-based nail art products. Traditional nail polish air-dries and doesn’t require curing. If you plan to create gel manicures or long-lasting gel nail art, a quality UV or LED lamp is an essential part of your setup.
What’s the difference between acrylic paint and nail polish for nail art?
Both can be used to create nail art, but each has its strengths. Acrylic paint is highly opaque and blends easily. It works best for detailed, hand-painted designs. Mistakes are also easy to fix before sealing. Nail polish is more durable. It is commonly used for stamping, striping, gradients, and other polish-based techniques.
Are nail art tools reusable?
Yes. Most nail art tools are reusable when they’re cleaned and stored properly. With routine maintenance, your dotting tools, brushes, stamping plates, and tweezers can last for years. Just be sure to replace worn or damaged tools when needed. This keeps your work precise and ensures professional-looking results every time.
Where can I get nail art tools?
You can buy tools at beauty supply stores, local retailers, and online marketplaces. If you are a beginner, starter kits are the most cost-effective option. Experienced artists may prefer buying individual tools to customize their collection. Whenever possible, choose durable, well-made tools that will deliver reliable performance over time.
Can I do nail art at home without tools?
Yes. Without professional tools, you can still create simple designs using household items. A toothpick works well for dots, a bobby pin for small swirls, tape for straight lines and geometric patterns, and a makeup sponge for ombré effects. While these alternatives are great for beginners, dedicated tools for nail art offer better precision, consistency, and creative flexibility.
How do I clean nail art brushes?
Clean your brushes right away after each use to prevent polish or gel from hardening in the bristles. For traditional polish, use a brush cleaner or acetone, then gently reshape the bristles before allowing the brush to air-dry. For gel brushes, use a dedicated gel brush cleanser instead of acetone to help preserve the bristles and extend the brush’s lifespan.
How long do nail art tools last?
The lifespan of your nail art tools depends on their quality, usage, and maintenance. Stainless steel tools, tweezers, and stamping plates can last for years with proper care. Brushes, however, usually need replacing every few months to a year. Frequent cleaning and proper storage will keep your kit in top shape.
Build Your Nail Art Kit With Confidence
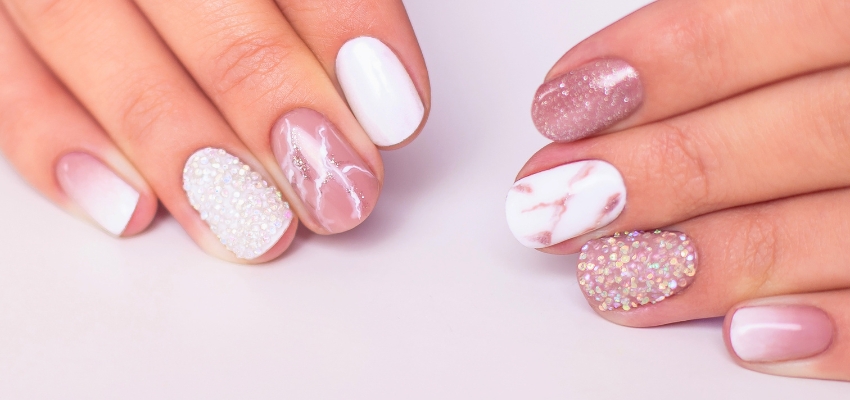
Every great nail design begins with the right tools. Start with versatile essentials like dotting tools, quality brushes, and reliable base and top coats. These basics will help you master the fundamentals and achieve polished, professional-looking results. As your skills increase to a higher level, you can gradually grow your collection. Specialized tools can then support more advanced techniques, letting your creativity flourish without the need to invest in everything at once.
Ready to turn your passion for nail art into a thriving business? Salon Suites of Palm Beach offers luxury private suites for independent beauty professionals in Royal Palm Beach. With flexible leases, upscale amenities, and a supportive environment, we provide everything you need to grow your brand and clientele. Explore available suites or schedule a tour today.
Lease Salon Space In Royal Palm Beach Florida
Fulfill your dreams and be your own boss when you lease salon space in Palm Beach Florida with us. Our beautiful salon spaces come with complimentary laundry and cleaning services and a flexible lease agreement you can afford. Our salon suites come with many amenities including free cleaning service, televisions, storage space, and more. Contact us now to book a tour or learn more.

Fact Checked By Experts
Our team of internal experts diligently fact-checked this content to ensure accuracy and reliability. Find detailed information about the rigorous editorial standards we uphold for our website.

About The Author
Meet Rei Bayucca: a versatile and seasoned writer who has ventured through diverse fields. With a passion for producing insightful and meticulously-crafted pieces, she aims to promote enlightenment and engagement among her readers.